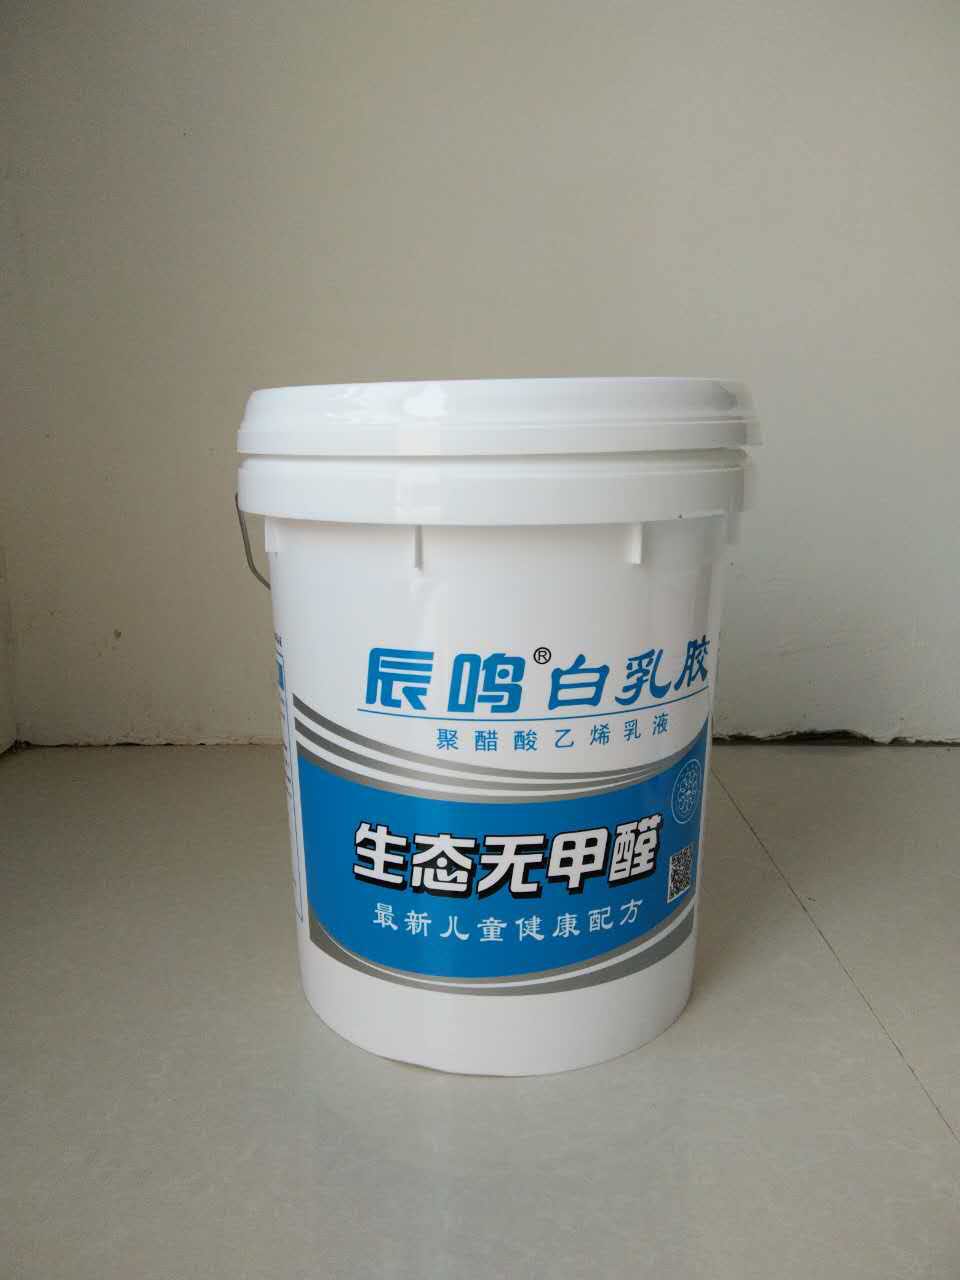
Ceramic Tile Adhesive for Walls and Floors, JD-101
| Description | ANSI Requirement |
Typical Results
|
|
Shear Strength
Conditioned Dry
28 Day, Room Temperature
Type I Water Immersion
After Accelerated Heat Aging
|
> 50 psi (0.34 MPa)
> 50 psi (0.34 MPa)
> 50 psi (0.34 MPa)
> 75% dry shear strength retention
|
Passes
Passes
Passes
Passes
|
| Heat Resistance |
Maintains at least 10 lb. (4.5 kg)
static load in shear at 120°F
(49°C) for 24 hours
|
Passes |
| Impact Test | All tiles remain bonded after impact | Passes |
| Stain Test | < 70% penetration | Passes |
| Stability in Storage | 4 weeks minimum | Passes |
| Resistance to Mold Growth | No mold growth | Passes |

Physical Properties
| Description | |
| Physical State | Paste |
| Color | White |
| Odor | Nil |
| Open Time [at 72°F (22°C)] | 20 to 35 minutes |
| Wt./Gallon | 12.5 lbs. ± .2 lb. |
| Wt./Liter | 1.49 kg ± .1 kg |
| VOC/Liter of Material |
0.4 grams
0.8 grams less water
|
| Foot Traffic Rating | Residential to light commercial |
| Freeze/Thaw Stability |
Freeze/thaw stable to -10°F (-23°C). If frozen,
slowly bring material back to room temperature
and stir before using.
|
| Storage |
Store in cool, dry location. Do not store
open containers.
|
| Shelf Life |
Store in cool, dry location. Do not store
open containers.
|
Key Features and Benefits
• For ceramic and marble tile
• Easy spreading
• Non slip
• Resilient bonds
Storage
Store in cool, dry location. Do not store open containers.
Application
1. All tiling materials, room and adhesive should be at a minimum 50°F (10°C) for 24 hours before and 48 hours after installation.
2. For best results, pre-measure and pre-cut all tile prior to spreading adhesive.
3. Apply adhesive using flat side of trowel to promote better substrate contact, then comb in one direction with the notched side of the trowel. Spread only an area that can be tiled while surface is still tacky (typically 25-35 minutes). Do not set tile if a skin has formed on the adhesive.
4. Press tiles into setting bed, then push in a direction perpendicular to the notched trowel ridges to achieve optimum coverage. Apply adhesive in a heavy enough layer so that complete contact (no voids,100% coverage) between mortar and tile is accomplished when tile is positioned. Proper installation requires a minimum of 1⁄32" (0.8 mm) continuous layer of adhesive between tile and substrate. Periodically remove and check a tile to assure proper
coverage. Keep a minimum of 2⁄3 of the joint depth between tiles for grouting.
Clean-up
Clean tools, hands, and excess materials from face of tile, while adhesive is still fresh, with warm soapy water. Dried adhesive must be removed with mineral spirits.
Grouting/Curing
Tile may be grouted as soon as adhesive is set and tiles are held firmlyin place, typically after 6 hours for 4¼" (108 mm) wall tiles. Floor tile greater than 6" x 6" (subject to size limitations) usually require at least 24 hours to set. Colder temperatures, high humidity, use of large vitreous tiles [6" x 6" (150 x 150 mm) or larger], or non-breathing back-ups will extend set times. The use of TEC brand grouts is highly recommended.

